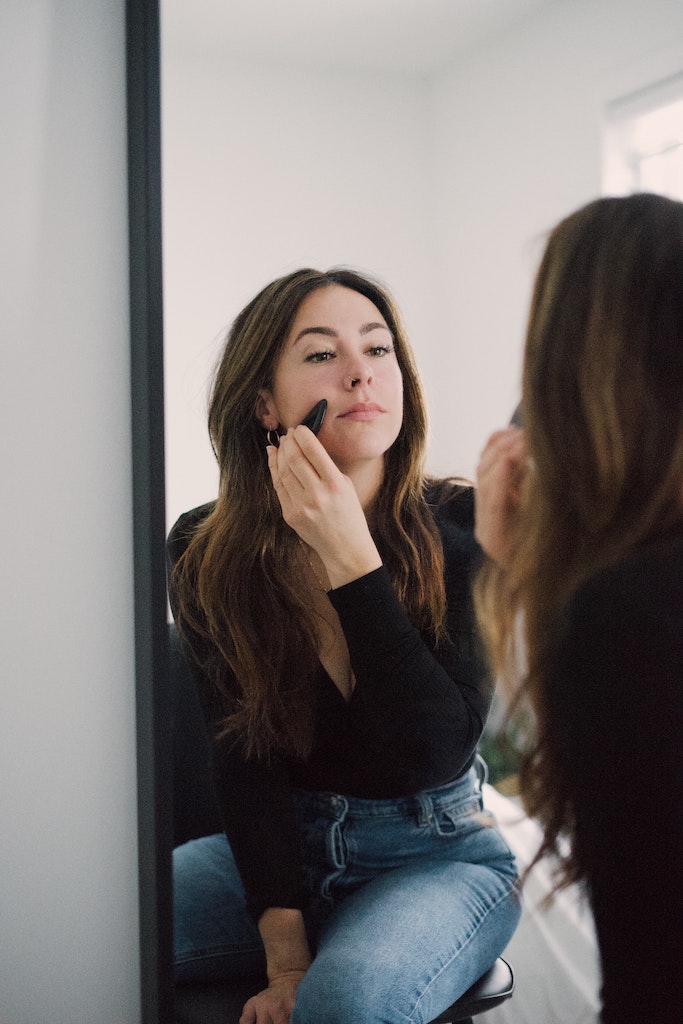
I’m a firm believer that massages, facials, and other self care practices aren’t something you have to “treat yourself” with. Instead, they should be something you work into your regular DIY wellness routine. One of my favorite techniques combines the soothing feeling of a massage with the benefits of a facial or detox. Plus, it’s easy to do yourself! Here’s how to start gua sha or “skin scraping” at home today.
What Is Gua Sha Or Skin Scraping?
Gua sha is an ancient Chinese healing technique. It involves using a jade tool (usually shaped like a rounded crescent) to smooth over your skin and release tension in your facial muscles. You can perform gua sha anywhere on the body – your back, your legs, even your feet – but it’s most commonly used to de-puff and detoxify your face.
What Are The Benefits of Gua Sha?
Not only does gua sha feel amazing, but it also has several health benefits. It decreases inflammation, improves circulation, and helps with lymphatic drainage (or drainage of fluid trapped underneath your skin). Plus, it can leave you with a tighter, brighter complexion and more sculpted facial muscles. Not a bad bonus!
What You Need to Start Gua Sha
To get started with gua sha, you really only need two things:
1. A gua sha tool.
Traditionally, gua sha tools are curved slices of jade with rounded edges. Nowadays, you can get tons of different shapes (like combs and spoons) and materials (like amethyst, rose quartz, or stainless steel). You can’t go wrong, but I highly recommend starting with a traditional jade gua sha like this. I’ve tried several tools, and this gorgeous gua sha stone is still my go-to!
(Use code LIVIA10 for 10% off).
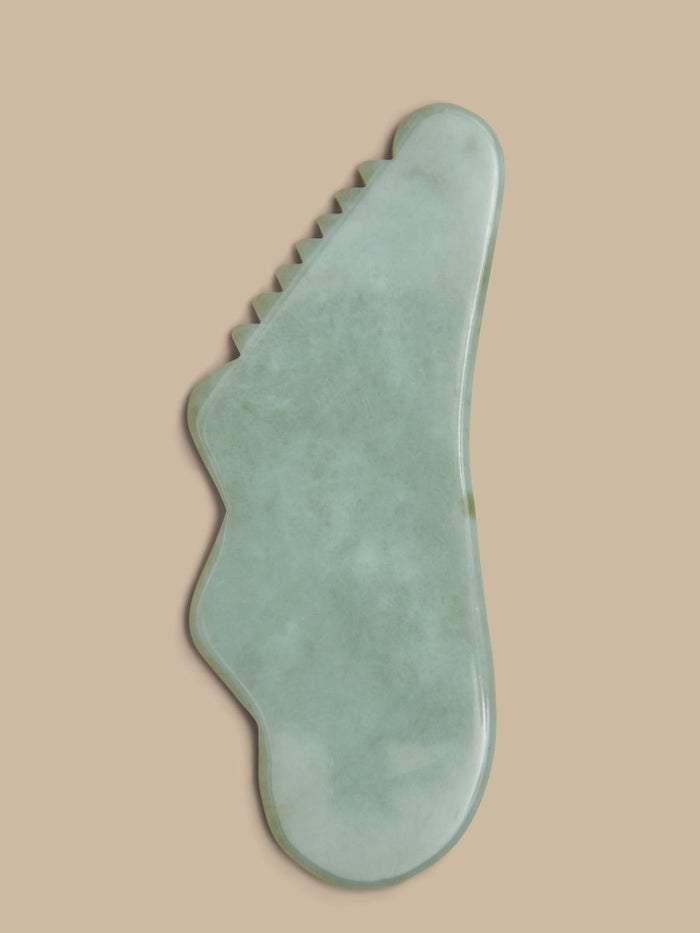
If you want your gua sha tool to feel even more soothing, pop your tool in the fridge! It’s totally safe for stone or metal tools, and the added coolness helps tone down redness and puffiness in your skin.
2. A face oil or moisturizer.
You don’t want to do gua sha on a dry face as you risk pulling and irritating your skin. Instead, prime your skin with a soothing face oil or moisturizer. Personally, I use this face oil on my face, neck, and chest before I get started.
How to Start Gua Sha At Home
Step 1: Clean your face and apply oil.
Before you get started, cleanse your face, neck, and chest, and then apply plenty of face oil. This is going to help the gua sha tool glide over your skin and prevent irritation. (Psst, this is the face oil I use!) I also wrote a complete guide on clean skin care if you’re looking for a clean and vegan face oil!
Step 2: Start at the neck.
When performing gua sha, you always want to start at your neck. The neck is an vein and artery hotspot, and a gentle massage will help improve circulation and loosen any tightness in your neck and shoulder muscles.
Start with the tool at the base of one side of your neck, and then gently move the tool upwards towards your jawline while applying light pressure. The goal here is to glide the tool over your skin, not to pull it. If you feel any pulling, apply more facial oil or use your other hand to hold your skin taunt (almost like you would when applying eyeliner).
Move your way around the back of your neck and to the other side, gently massaging upwards.
Step 3: Sculpt your chin and cheekbones.
Next, move the gua sha tool up along your jawline and back towards your ears. The curve of the tool should sit nicely on your jawline. Start on one side of your jaw, and then move to the other.
After that, keep working upwards towards your cheeks. Again, the curved tool should hug your cheekbones. Slide the tool upwards over your cheek and towards your hairline, almost in the same pattern you would apply blush.
Step 4: Glide upwards along your forehead.
Finally, move on to your forehead. Imagine you’re using the tool to brush hair off of your face and back onto your head. Glide the tool from your brows up towards your hairline, being careful not to pull your hair.
Step 5: Experiment!
There are tons of gua sha books and online tutorials to help you get started. The more you practice these different techniques, the more in-tune you’ll be with what feels good for your body. Keep a regular weekly practice, try new methods, and find what works for you!
Add a little more wellness to your daily routine.
There are tons of ways to work self care and wellness into even the busiest schedules. If you’re ready to rethink your day-to-day wellness routines, check out my Voxer coaching program! I’ll help you evaluate your routines, create space for self care, and design a life you truly love.
Or download my free guide with 15 habits that’ll change your wellbeing and productivity forever!





+ show Comments
- Hide Comments
add a comment